Pages

Tampilkan postingan dengan label old. Tampilkan semua postingan

Minggu, 20 Maret 2016

What happens when Stitch and Glue boats get old

I came across this excellent article entitled "What happens when Stitch-and-Glue boats get old", posted on John Harriss blog "The Life of Boats".

John illustrates how epoxy-coated plywood boats age, and provides info on how to maintain and repair them.  Its an excellent article with very valuable info.

Here is the link to Part 1, and Part 2.
Read More..

Minggu, 13 Maret 2016

On old vices new media and timeless techniques

Chris Schwarz, owner of Lost Art Press and Editor-at-large of Popular Woodworking magazine, has a bit of a thing for leg vices. Though he calls them vises. Its a murican thing.
Last night after a lovely day out with our nephew in Greenwich I sent Chris a picture of the carpenters vice we saw on the Cutty Sark.
This morning its in a blog post on Popular Woodworkings website.
It used to take that vice weeks to cross the Atlantic, now its dashing back and forth shaking its unusual guide mechanism across the world.
Cutty SarkIts such a bad picture Im not even going to post it here but he insisted on giving a credit. Its nice to be able to help someone from whom Ive learnt so much. I will, however post some photos of the ship. Which is amazing. I dont really like expensive restorations of rotting hulks that sit in dry dock and gather dust; boats should sail. The Cutty Sark exhibition is, however, astonishing. Not least because the boat seems to float over the heads of the people sitting in the cafe.
Its beautiful, educational and a masterpiece of engineering. Twice.
The restorers (or preservers I should say, since the ship wont work in its intended function) have tried to use a lot of the original material. Where they needed to add material theyve highlighted it. Original steel frames are white, new steel reinforcement is grey.  Its less obvious in the wood work. Cutty SarkMuch of the bright work is original and each restoration has added its own set of dutchmen, or patches, let in to the original, massive timbers. This has created a wonderful palimpsest that is testament to the longevity of our domestic hardwoods, the skill of the craftsmen and women who worked on the ship and the potential of wooden vessels to be maintained and repaired.
And that brings me back to the purpose of the blog: building a wooden boat. Little progress to report, Im afraid. Im building a bench at the moment. Chris Schwarz in one of his two (how much is there to say?) books on building workbenches says that a bench should have neither an apron nor a tool tray. Mine will have both. But then he also says "Disobey me!" so Ive taken him at his word. Im chopping mortices for the legs at the moment. Steve Branam has an excellent guide to building this bench, better even than Roy Underhills original description, so I wont be posting it here - its already done.

Cutty Sark
Read More..

Calculating displacement the old fashioned way

I like to draw on paper and create my designs the way the old masters have done it for centurys .
To me a pencil in your hand on a nice sheet of blank paper holds all the promise of the possibilitys of a clear vision. Today most all boats are created on a computer screen. This is ,with a clear vision the best way to go as the computers calculator does a lot of the math for you in a nano second. If you draw in an ugly skiff that is what it will spit out , but the numbers will be perfect dilineating your ugly skiffs proportions. It will not cough a bit and blink on and off trying to let you know that its all wrong.
Same thing on paper so you have to have your vision in your head in advance. Either way you need to start drawing or moving the mouse about till you get your skiff fleshed out. From here you can start adding up the numbers. I use an $ 8.00 solar pocket calculator to help me do the math. This I have done for all my designs.

I will say it here again before you start this process you need to have your weight list , your target draft number, and what you think your hull will weigh when built. A bunch of the current skiffs being created to day are just winging it by taking an existing proven design and changing it a bit so as to not get sued , and adding a few different details to hopefully improve on these past designs.
I am all for improving on past ideas, this is how things evolve . But I think its pretty silly when these new skiffs on the block are claiming to have reinvented the flats world with the best design ever when its so obvious where their vision came from.

What they should be advertising and explaining is what makes their skiff so special. The new details, things they feel they have improved and why its so much cheaper in price. Could be theyre nice guys and are passing on the savings to you or the skiff is just plain cheaper.

This is how  I calculate my designs by adding up the cubic inches in between each station section. 
You can figure the displacement out on an existing skiff by taking the lines off from the outside of the hull and then drawing up the skiff . From here you can then add up the numbers and from these you can then decide on what changes you will be adding or subtracting. This is worth your time as it gives you a good idea of where your skiff will float. It will not give you any idea on how your new design will perform but thats in your vision so hope for the best. I have all my past designs on paper with all the knowledge of what worked and what could be improved on. This gives me a very good idea of what Iam going to do next. When you are just copying and splashing others designs you are relying on your guesses of putty thickness and what you think will improve this skiff. I have done this several times in my career but I have done the math before hand so as to get a good idea of whats going to happen.

I encourage all of you out there to use my past designs as a reference . Iam looking forward to seeing the new skiff ideas.

What the ..... Look at all the station sections.
All assembled . You just trace around this shape very carfully to get the profile . Mark in each station section .
Here is a cut out station half section in three- D. The full half section you have to add up the cubic inches, then you go to the profile and work the numbers back. What you really do is just figure up one half and then just multiply by two. The black part on the wood block is what you are trying to calculate as close as possible. This is not hard. Once the whole boat is added up then you just divide 1728 by the numbers and that will give you your cubic feet. Then multiply by 64 lbs if going into sea water. This will give you your displacement , and hence your hull weight. 
Now if its not enough to get to your desired draft then there are several ways to add or subtract to get too your design goals. By placing the hull skin on the inside of the lines you can subtract or by putting it out on the outside of the lines drawings you can add significant flotation. But making the boat wider adds a small amount as its just a sliver. At this point you can then start thinking about what to change . This I do on paper several times before I get to making my half hull. When Iam at the half hull stage I pretty much know whats up . Once the half hull is made I can then see it in three dimensions. Of course on computers today this can be done in a split second but feeling up the screen to caress your new creation is not so much fun.
I do all my designs at the scale of 11/2"=1 . This means that when gluing up 3/4" spruce planking each plank represents 6" of depth. The glue lines are what are called waterlines. This method of getting out a hull shape has been done for some of most beautiful boats ever created. Its also very easy to use this scale when lofting and building your design as you can read everything right off your tape measure . Nice big numbers. Using the metric system is way more accurate and easy to use but try getting Americans to change over. Sheesh.

Have fun...and any questions just email me....... Get going, start drawing

Read More..

Sabtu, 27 Februari 2016

Questions for the Old Man

I didnt expect myself to be talking to the old man, the designer himself, bouncing my dumb ideas off him and hearing the edge of concern in his voice.

I bought our Shantyboat plans from Glen-L Marine.  The company was started by and named after Glen L. Witt, a boat designer whos been designing boats for over 50 years.  When other boat designers needed to give people in-depth information about plywood boats or about fiberglass, they referred me to Glen Witts books on the subjects.  This is one of the reasons I went with the Glen-L plans.

From the 50s-era Glen-L Marine calendar.

Glen Witt is now retired in his 80s, and the company is run by his daughter Gayle.  When I emailed questions, Gayle herself personally and graciously answered them.  When I ordered stuff, it arrived quickly on my doorstep in good condition, exactly as described.  Okay, what more could I want, right?

This week, I had a question about materials needed to complete the Waterlodge plans.  I was on my way to the lumberyard, so I didnt have time to wait around for an email.  I called up Glen-L expecting to talk to some random employee.  Gayle answered the phone, and fielded my questions deftly, clearly familiar with this design, one of hundreds they offer.


I thought this might be an opportunity to get something off my mind.  Wed made changes to the design, and I really wanted to get the assurance of someone who knew better before we moved forward.  Wed messed up Glen Witts perfectly elegant design with the following changes:
  • Reduced the size of the cabin by two feet to get a longer fore deck.
  • Put a covered porch over the fore and aft decks
  • Raised the cabin height by a foot to get more head room on the decks (and a sleeping loft in the cabin)
  • Replaced the cabin roof with a gabled roof
  • Added more and larger windows
  • And proposed to build the cabin with board and batten for a traditional cabin-y look

Could Gayle answer these questions, or could she put some experienced boatbuilder on the phone to field my questions? Instead she said, "Well hold on, let me put Glen on the phone."

There was a little delay in which I had time to be a little star struck.   You mean the Glen L. whose plans Id been studying for a year?  Who wrote what appears to be the bible on plywood boats?  Was I really going to have to tell him how I was planning on ruining his perfectly good plans with my modifications?

An older man came on the phone, "Hello?"

I asked my questions to which most he replied, "Well, if you want to do that."  Though I expected something more like, "Good God, are you trying to be killed?"

But no, we talked about the height of the roof, in which his suggestion was to keep the weight low, and suggested that the "fair lines" of the boat were less important than the appearance I was looking for.  He had a concern about the weight of board and battens,. a concern which I shared.  I asked a few more questions about weight distribution and stuff, all of which he answered politely and knowledgeably. 

Overall, I think I received his cautious stamp of approval.
Read More..

Sabtu, 06 Februari 2016

Old Shoe


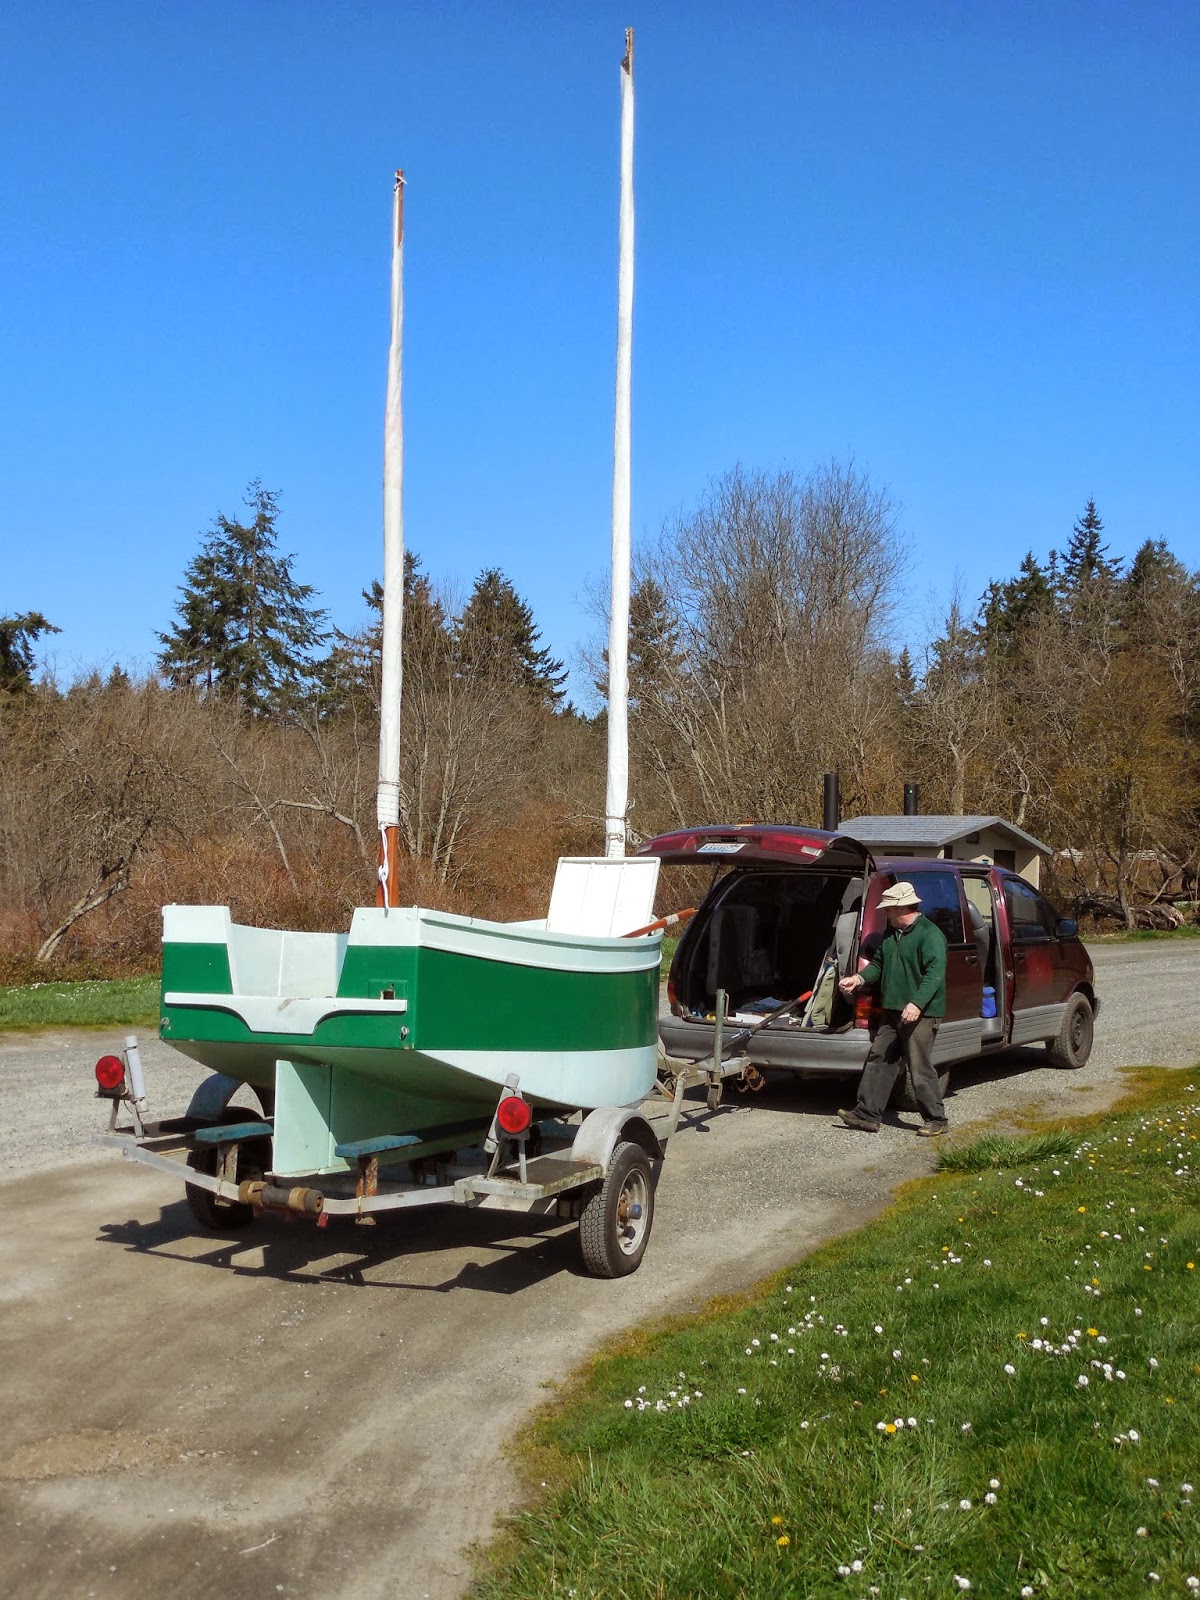
That would be the Oldshoe by Phil Bolger. One of his "Square Boat" series. My friend Tom Gale is a square boat fan.


Tom sent me these photos of the maiden voyage in his new old shoe. His first impression was that she had a lot of leeway in a breeze. Here hes trying to tack to windward and miss that dock.


My first impression was thats a boat designed for utility and simplicity.
The Oldshoe has been described as a twelve foot cockpit, with the rest of the boat left off. Big, roomy and safe. Just right for Tom and his family who like to cruise Lake Powell every year.


The skipper looks pleased. Ive never known Bolgers little square boats fail to bring a smile to the person at the tiller.


Thanks to Heather Gale for the photos.
Read More..